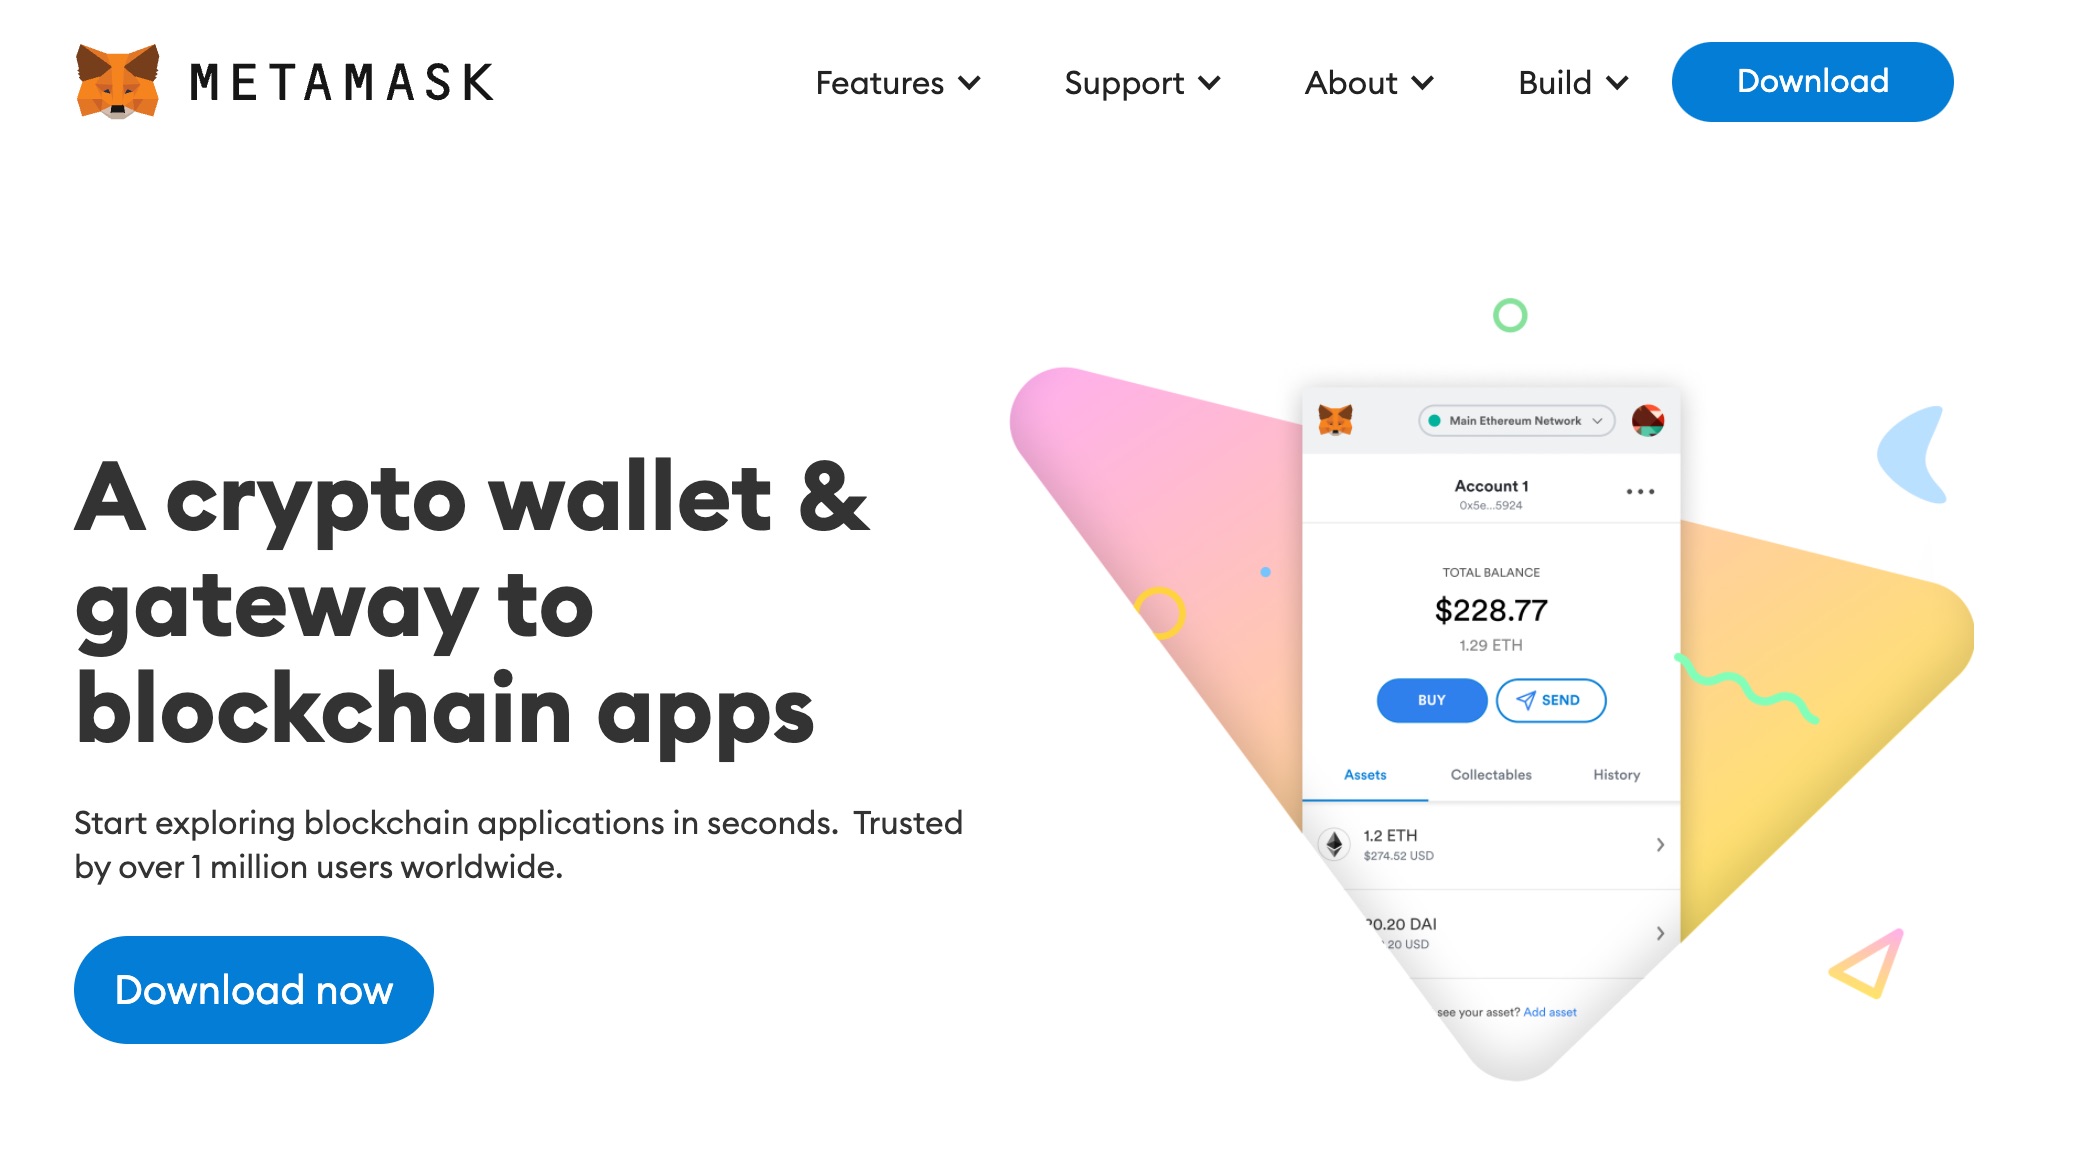
Want to store your crypto assets in your metaverse wallet in a low-cost and secure way? Then look no further than MetaMask wallets that provide a safe and easy means of storing, controlling, and transferring such assets.
Thanks to its simple design, compatibility with various blockchain networks, and easy connection to different decentralized apps, it is understandable why MetaMask is preferred by many cryptocurrency investors.
Beginner’s Guide To Create MetaMask Wallet and Send Crypto
MetaMask allows you to easily manage and send all of your cryptocurrencies, whether it is your first time trading or you are pro. This guide will help you to set up your MetaMask wallet and transfer cryptocurrency within seconds.
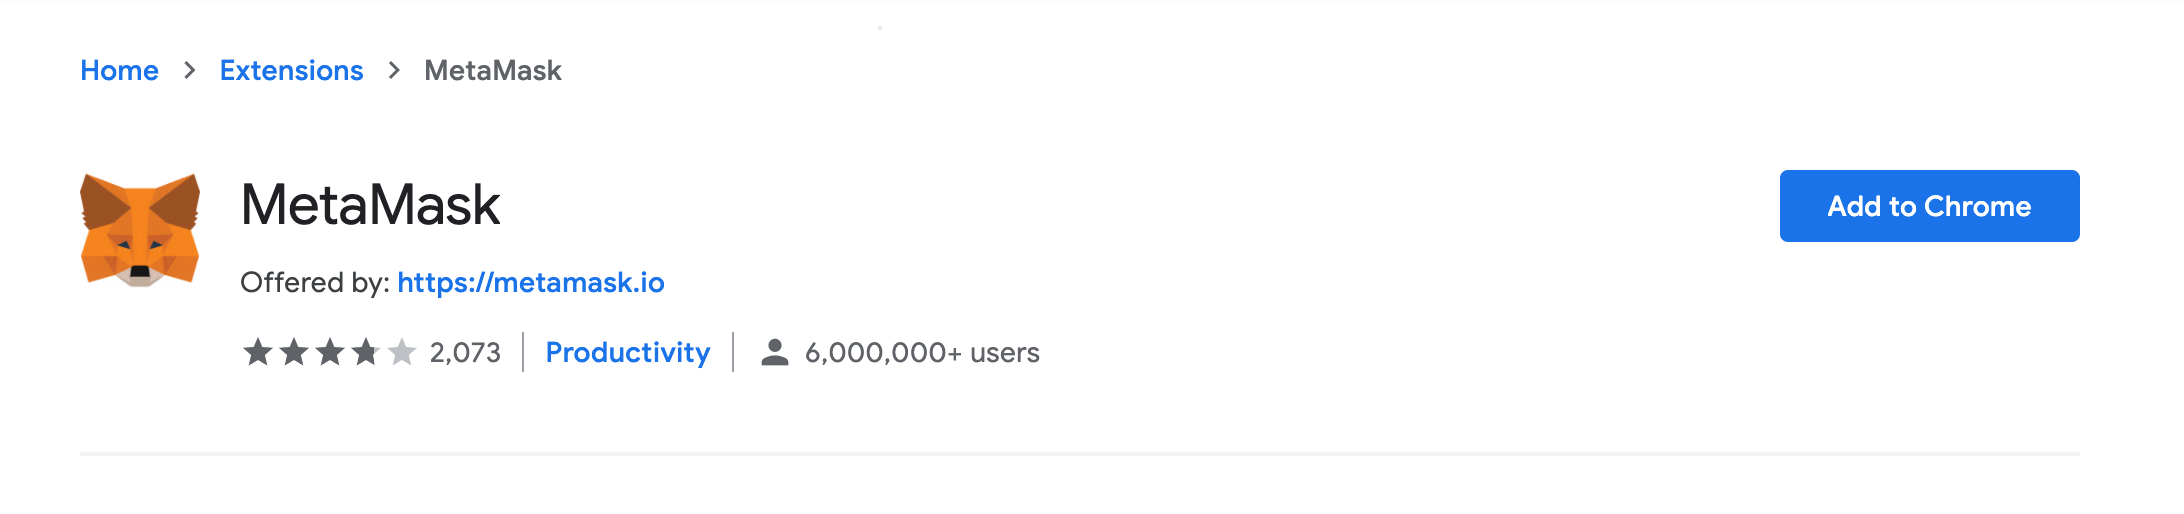
Step 1: Install MetaMask
Visit the official MetaMask website.
Download the extension/app:
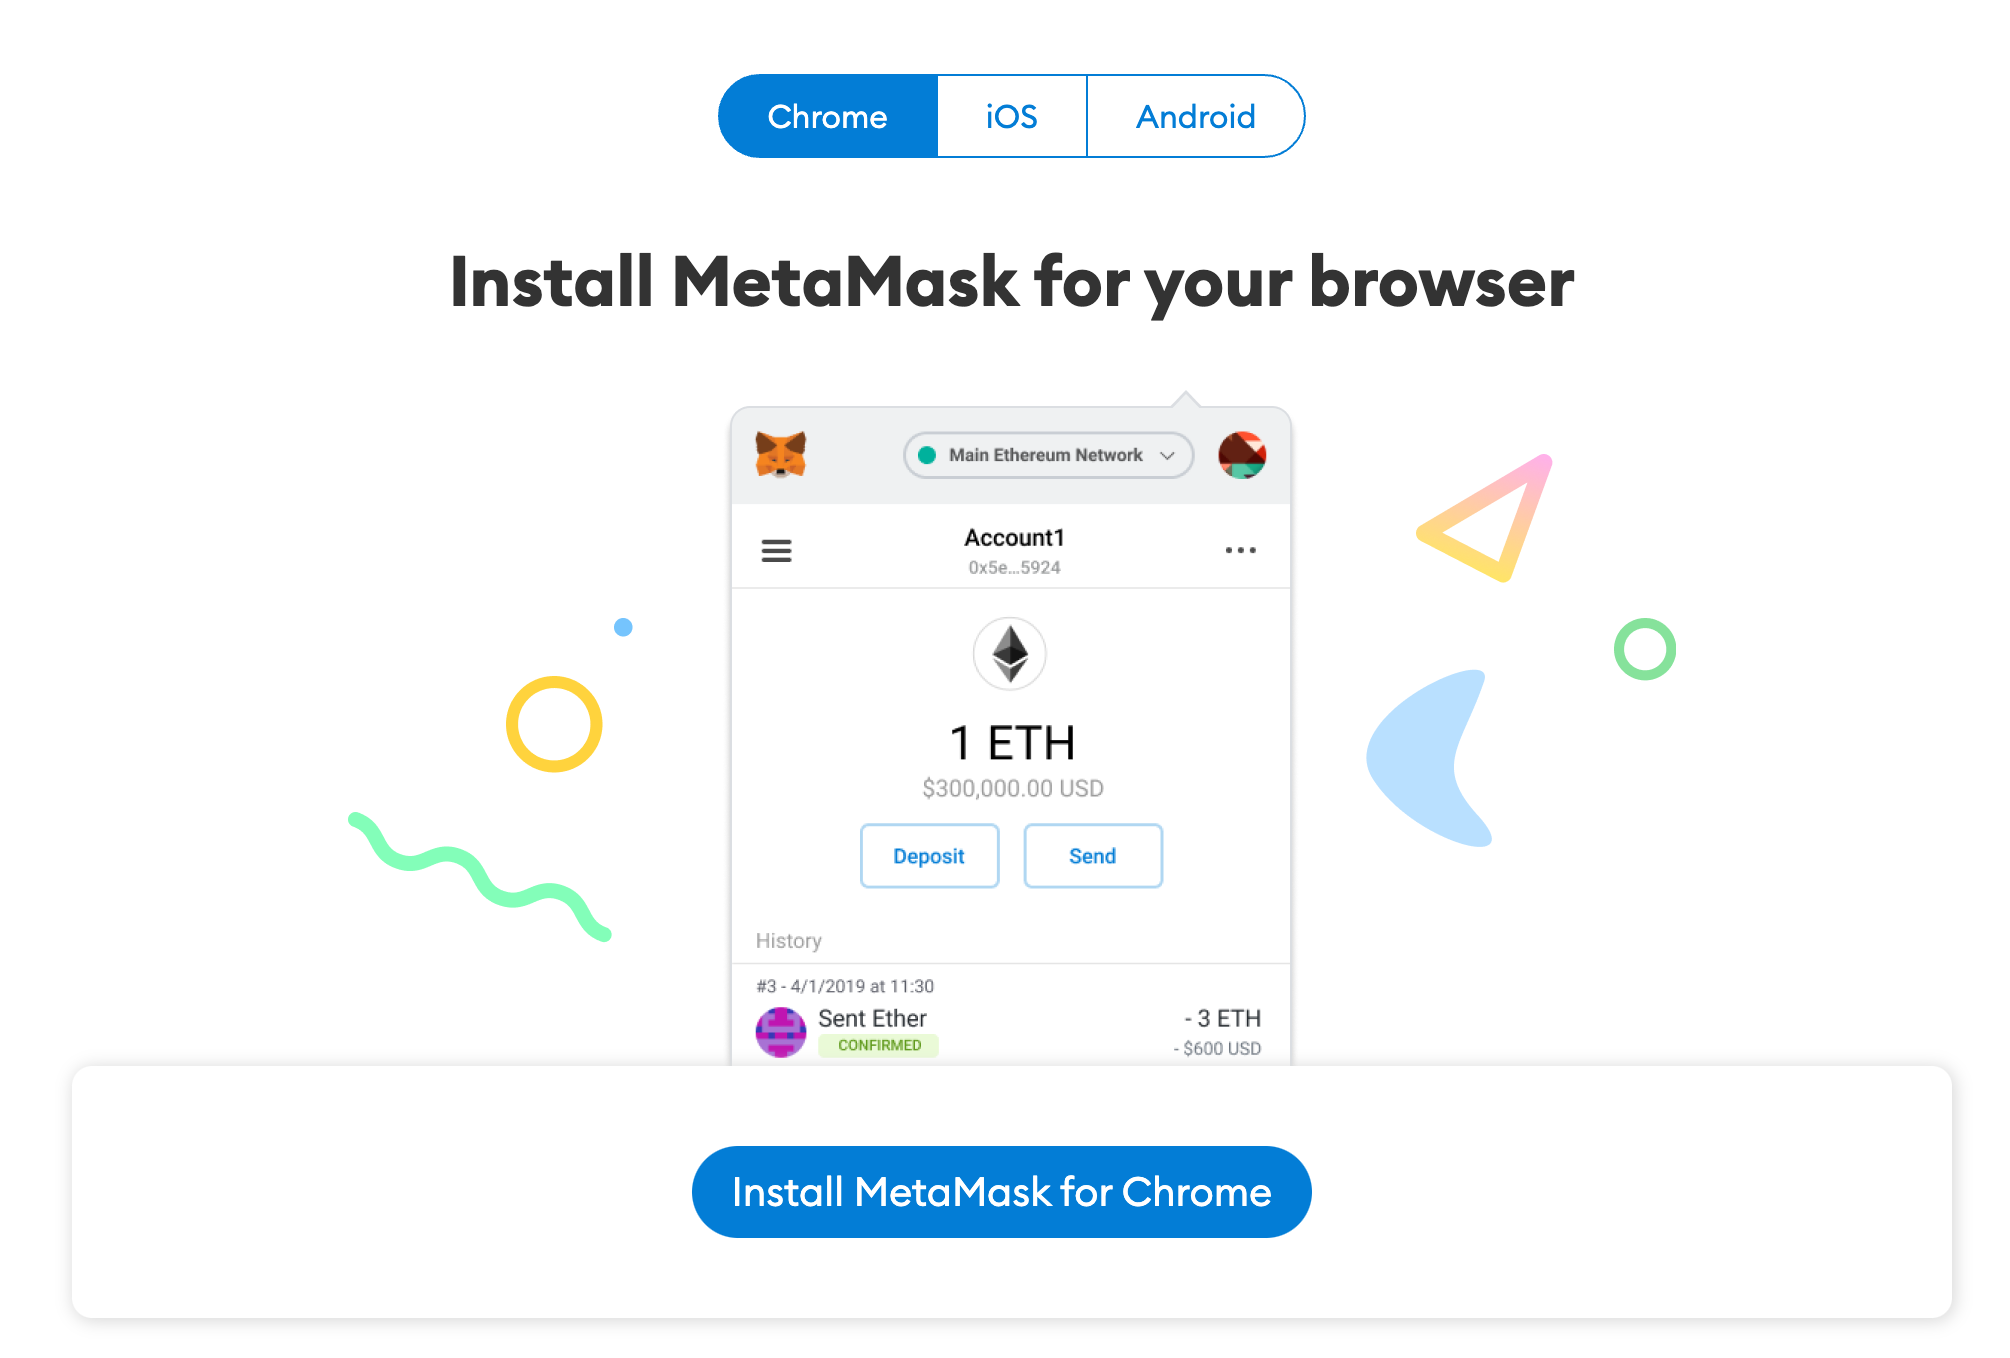
For browsers: Choose the extension for Chrome, Firefox, or Edge.

For mobile: Download the app from the Apple App Store or Google Play Store.
- Install the extension or app: Follow the instructions to add it to your browser or device.
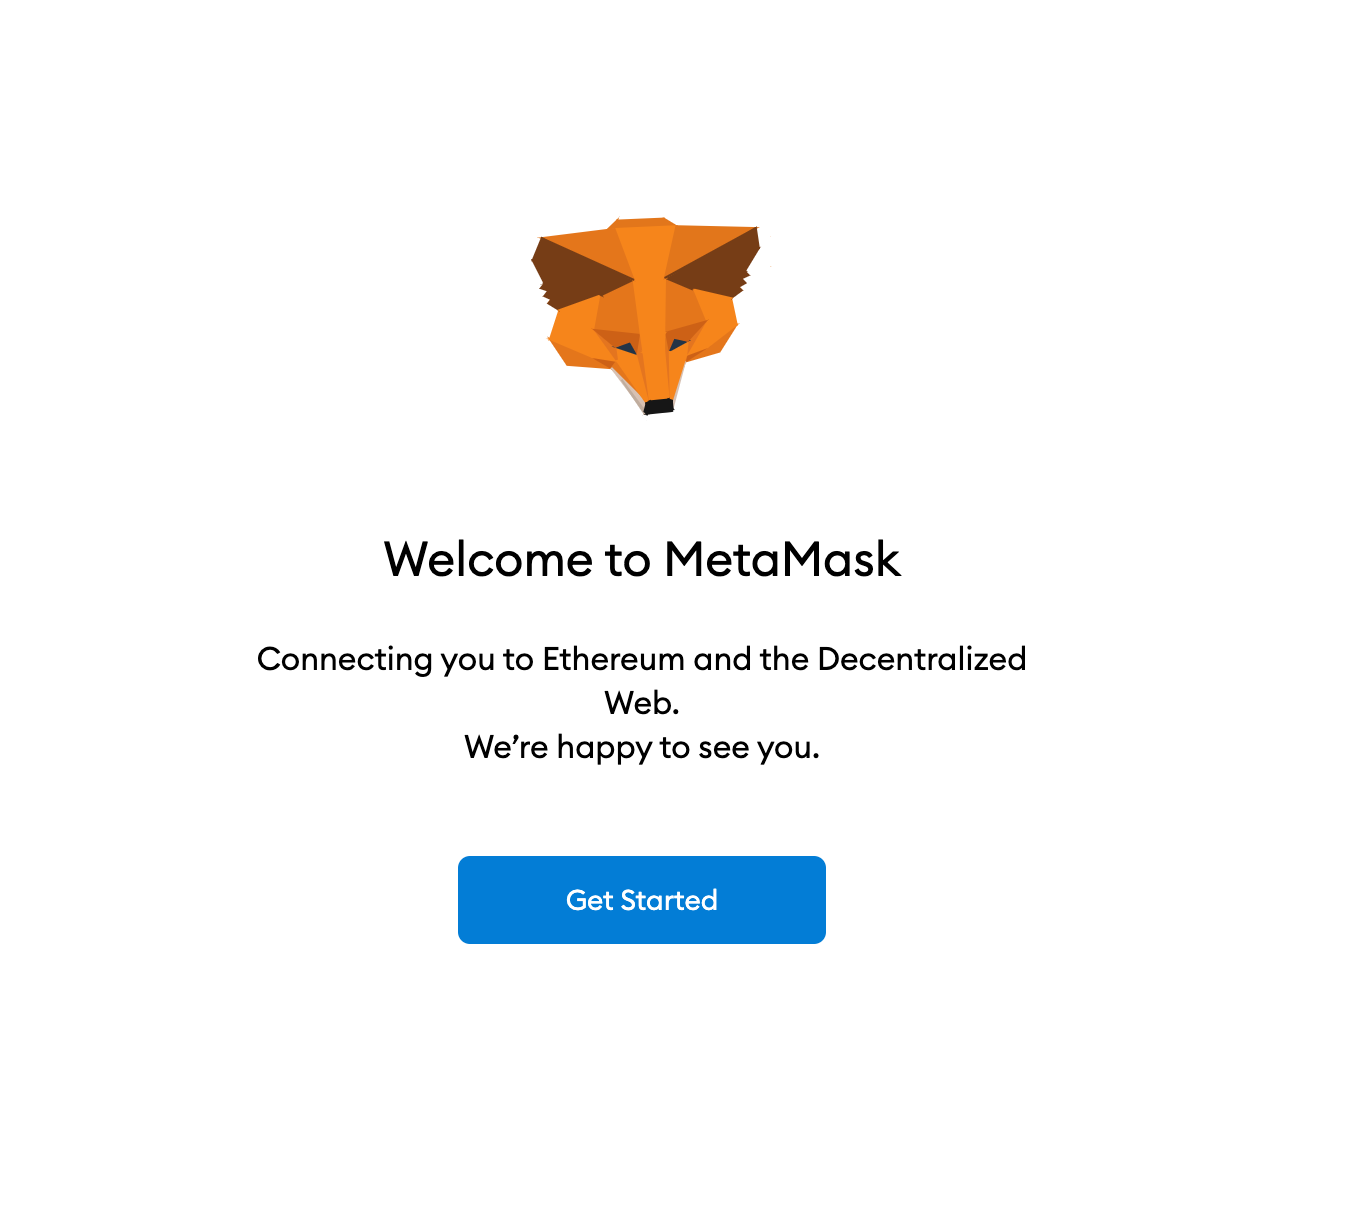
Step 2: Create a Wallet
Open MetaMask: Click the MetaMask icon or open the app.
Select “Create a Wallet”:
Agree to terms of service if prompted.

Set a strong password: Create a secure password and save it securely.
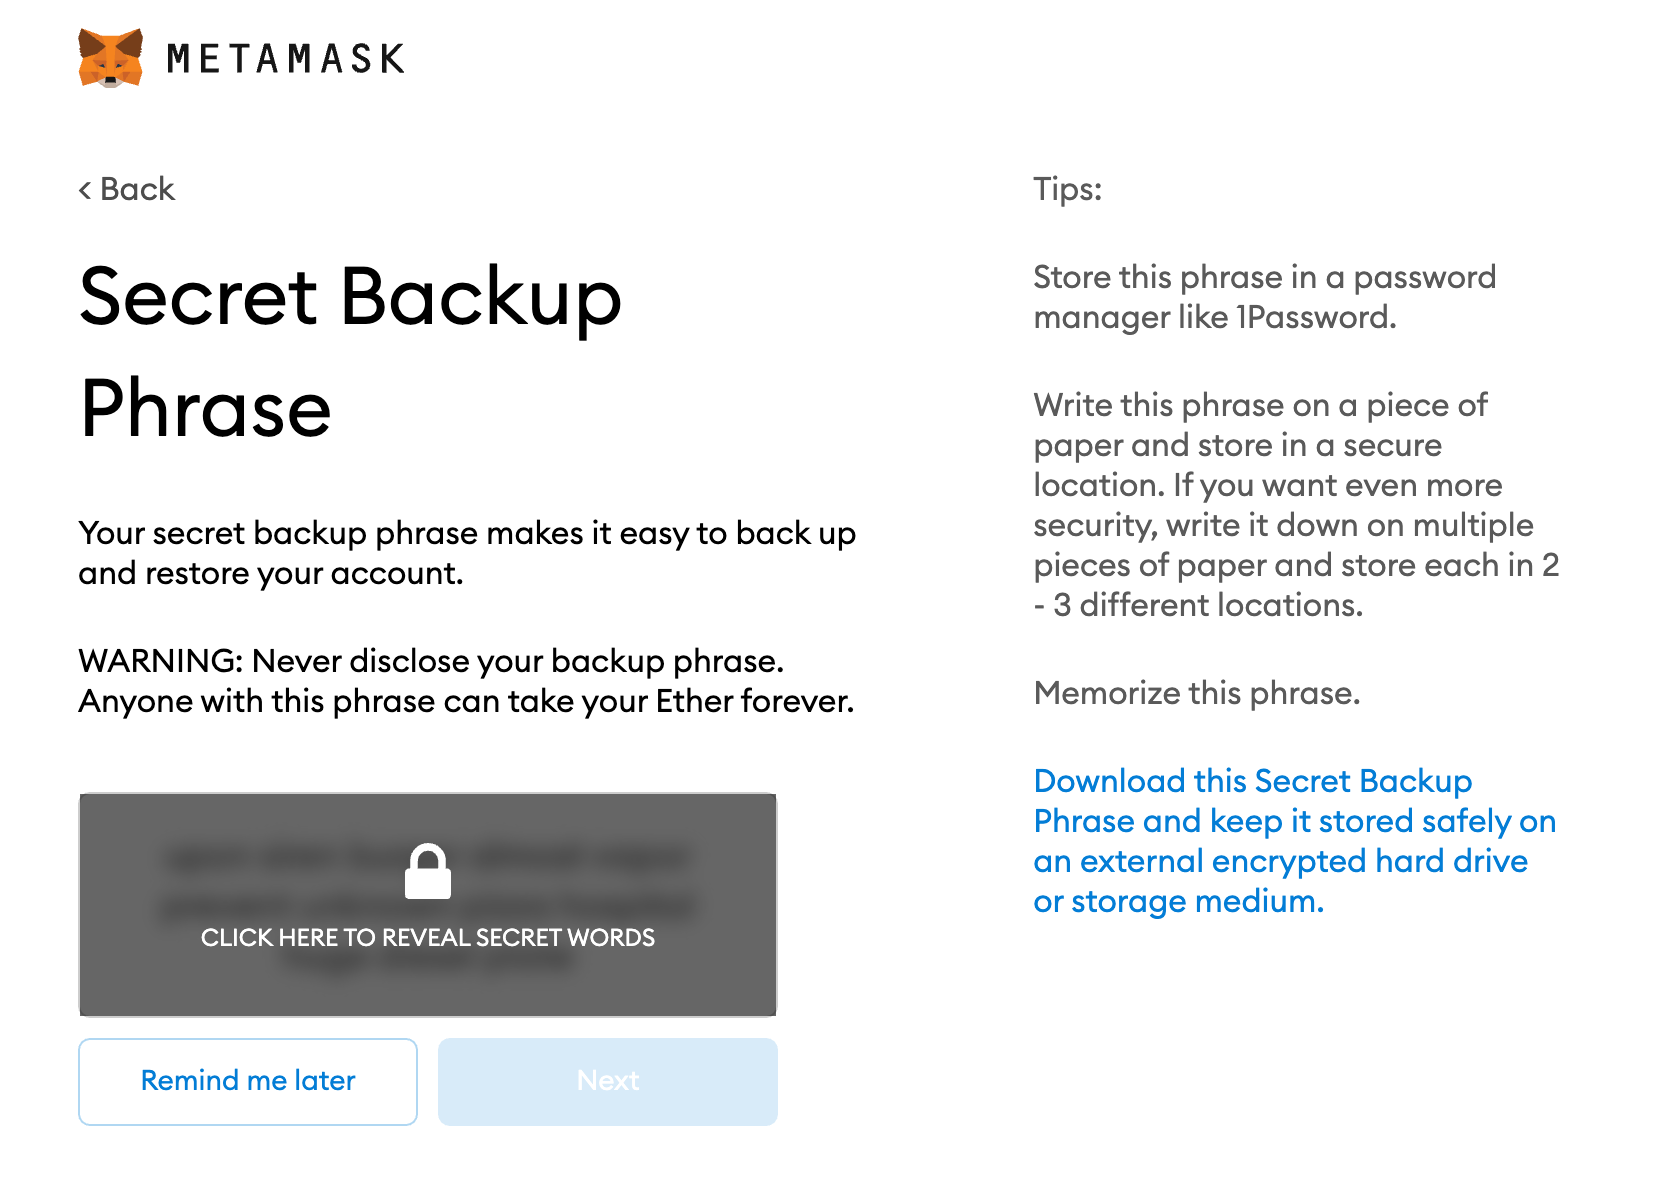
Backup your Secret Recovery Phrase:
You’ll receive a 12-word recovery phrase. Write it down and store it safely. Do not share it with anyone.
Verify your recovery phrase in the next step.
Step 3: Configure Your Wallet
Choose the network: The default network is Ethereum Mainnet. You can add other networks like Binance Smart Chain later.

Familiarize yourself with the interface:
Account Address: Found at the top of your wallet; this is the address you’ll use to receive crypto.
Assets and Activity Tabs: Track tokens and transactions.
Related: Best DeFi Wallets for 2024
Step 4: Fund Your Wallet (Send Crypto)
- Copy your wallet address:
- Click on your account name to copy the wallet address to your clipboard.
- Send crypto to your wallet:
- Go to the platform where your crypto is stored (e.g., an exchange like Binance or Coinbase).
- Choose the cryptocurrency you want to send.
- Paste your MetaMask wallet address into the recipient field.
- Double-check the network (e.g., Ethereum Mainnet for ETH or BEP20 for Binance Smart Chain).
- Confirm and send the transaction.
- Check your wallet:
- Open MetaMask and go to the Activity tab to verify the transaction.
- Depending on the network, it may take a few minutes.
Tips and Important Notes
- Secure Your Recovery Phrase:
- Store your recovery phrase offline in a safe place.
- Never share it with anyone. MetaMask will never ask for it once your wallet is set up.
- Verify Addresses Carefully:
- Always double-check the wallet address before sending funds. Transactions cannot be reversed.
- Understand Transaction Fees:
- Crypto transfers incur gas fees. Ensure you have enough funds to cover them.
- Use Trusted Networks:
- Add only verified networks to your wallet. Be cautious of malicious smart contracts or tokens.
- Test with Small Amounts:
- If you’re sending funds for the first time, start with a small amount to ensure everything works as expected.
- Enable Security Features:
- On mobile, enable biometric authentication for added security.
- Stay Updated:
- Regularly update your MetaMask app or extension to the latest version.
Read More: MetaMask Alternatives