This guide will introduce you to modding textures in Atlyss. By the end, you’ll be able to create custom costumes and weapon textures and understand how to use basic Unity Engine tools for modding.
The goal of this guide is to help players add custom modifications to the game. It’s aimed at those with little experience in modding or similar programs. If you’re already familiar with modding, this should be easy. I hope the guide is clear and informative about how files are managed within the game.
Programs Needed
You will need three tools:
- Asset Studio (Active Fork)
- A Painting Program – Any program that works with pixel art.
- UABEA 8th
For texture editing, I’ll use Aseprite, which is great for pixel art, but Krita is a free alternative.
Note: Always verify the safety of the programs you download.
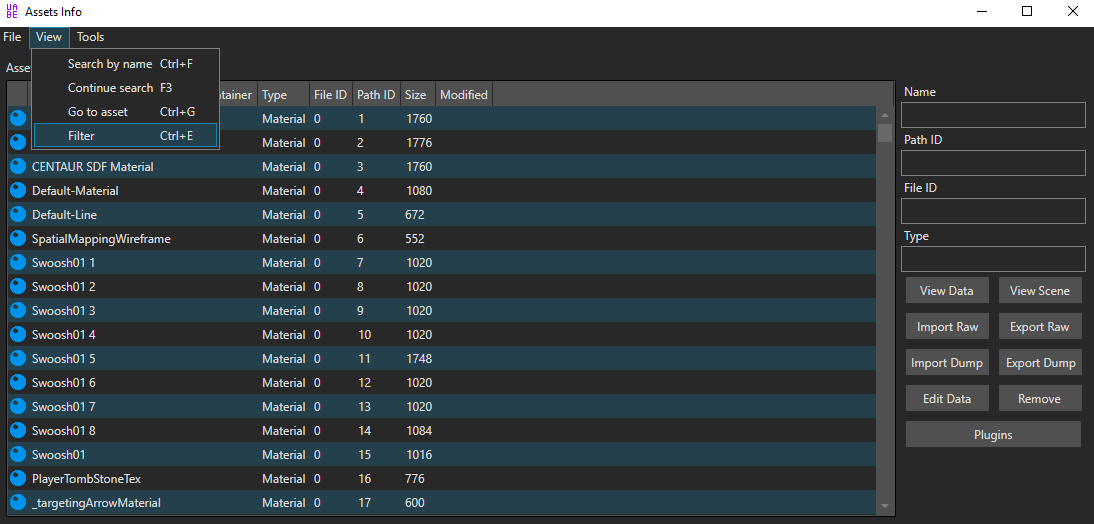
Extracting Textures
Start by extracting the textures you want to edit. Here’s how:
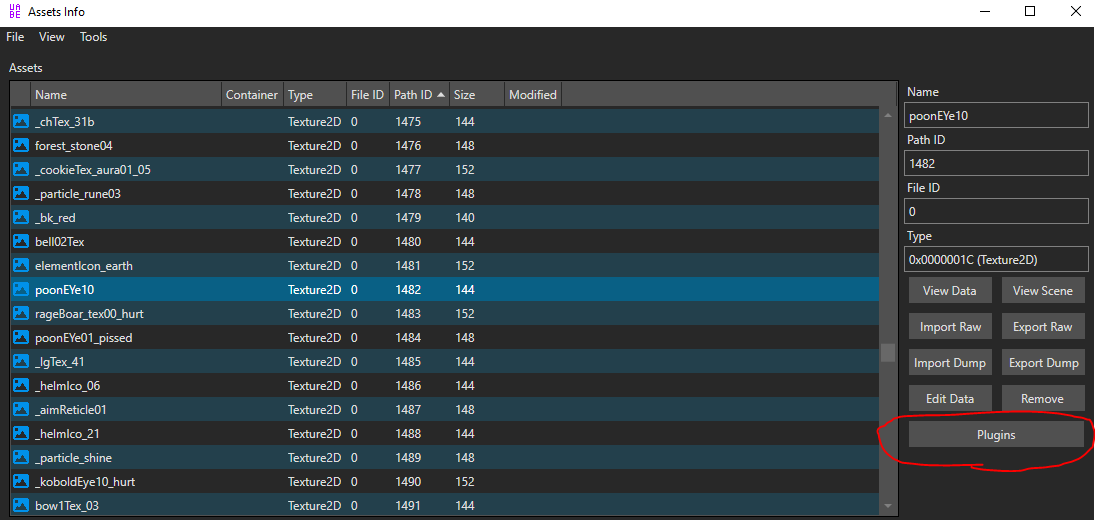
Open Asset Studio GUI and drag the resources.assets file from ATLYSS/ATLYSS_Data into the window.
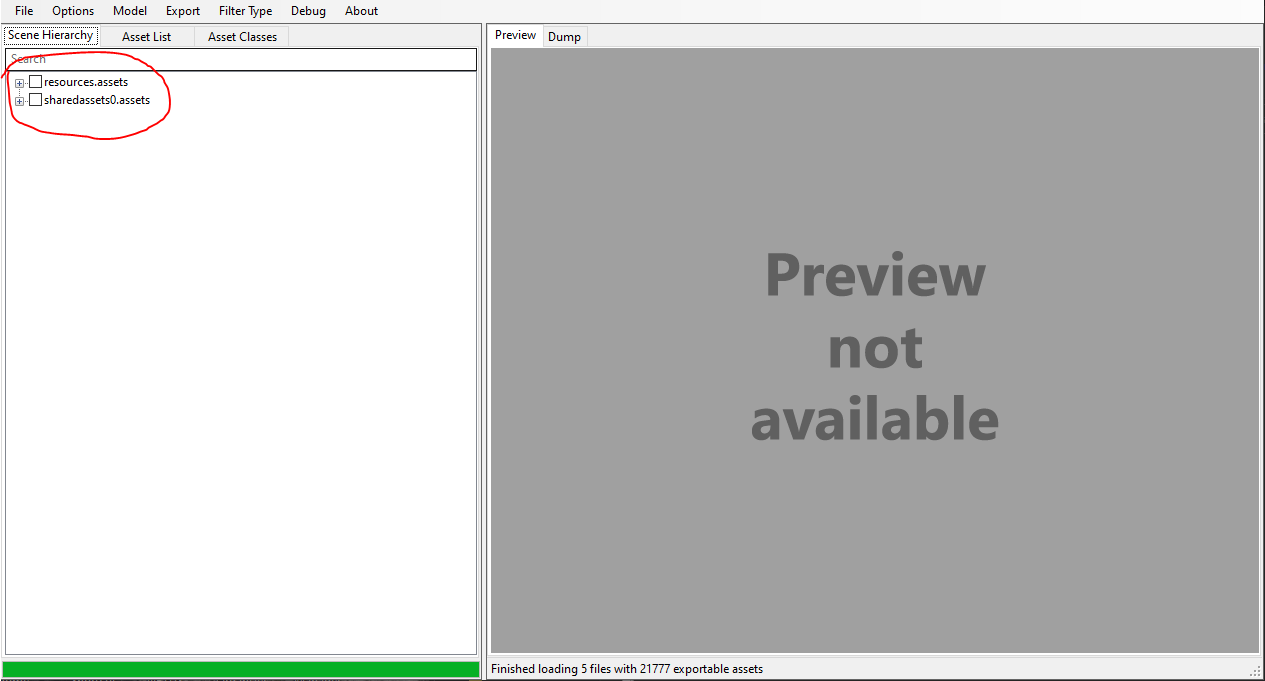

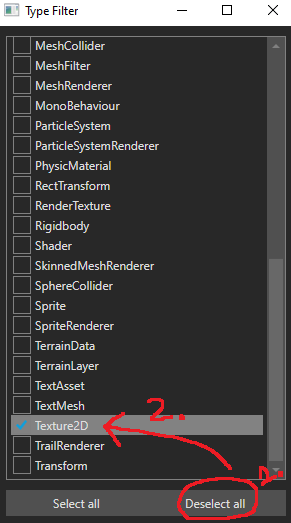
In the “Filter Type” dropdown, select “Texture2D”.
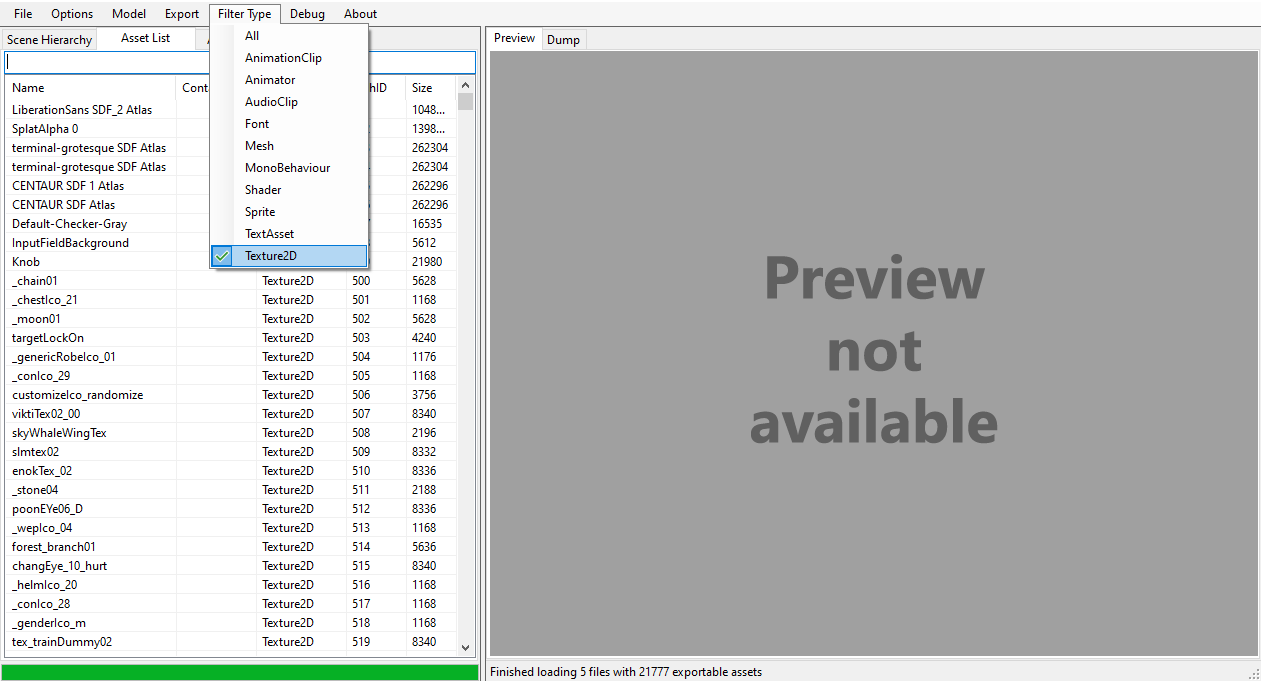
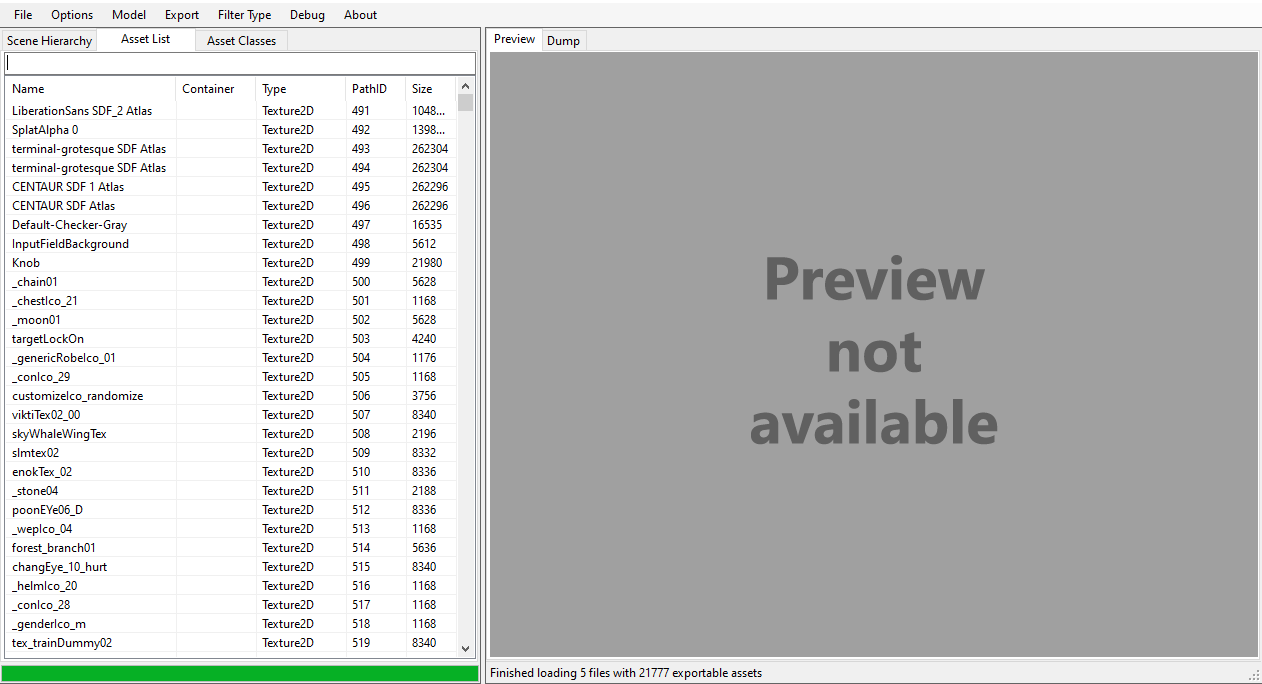
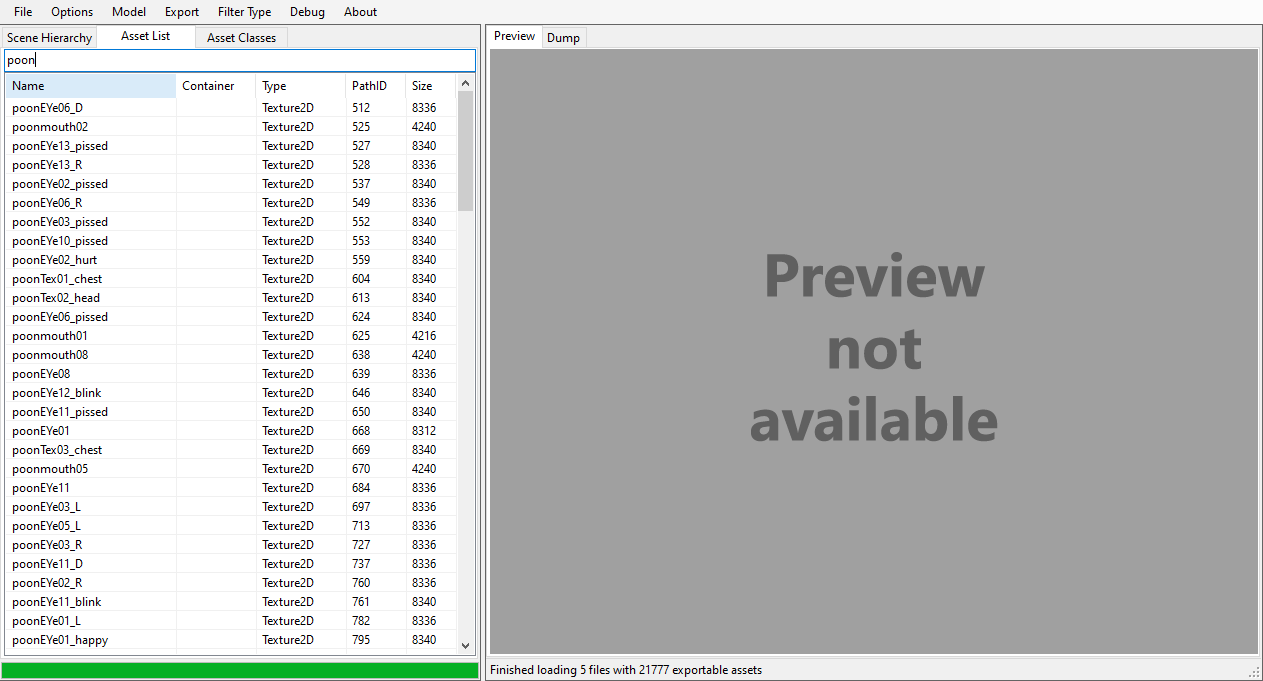
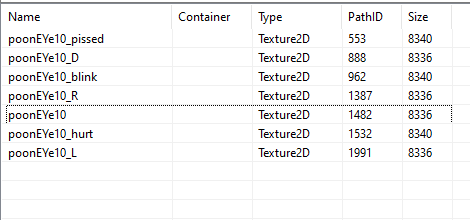
Use the search bar to find the texture you want (e.g., search “poon” to find the Poons’ eyes).
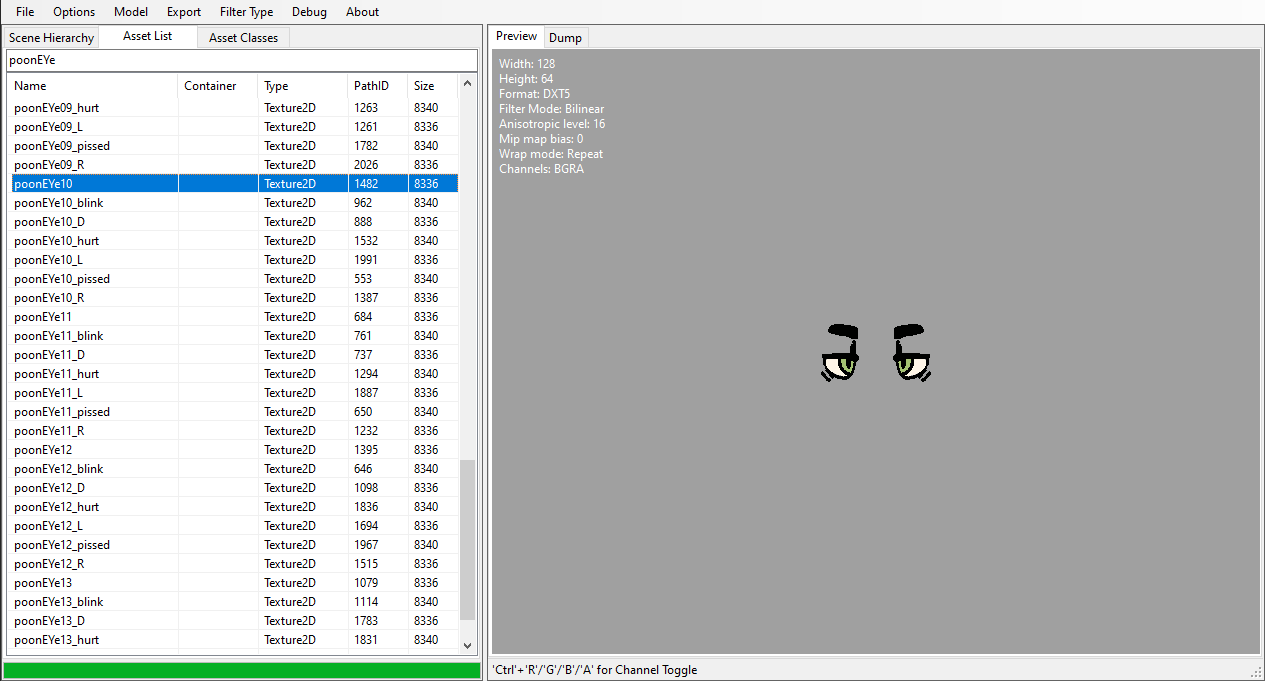
Once you find the texture, right-click and select “Export selected assets”.

Choose a folder to save the exported files.
Now you have your textures ready to edit!
Read More: Try Nexusmods Alternatives For More Modding Textures
Editing Textures
Now, let’s modify the texture.
- Open the texture in your painting program.
- Edit it as needed, keeping in mind the game’s low-poly art style. Avoid harsh edges and use blending tools for smoother results.
- After editing, save the texture with the same name as the original file in a new folder.
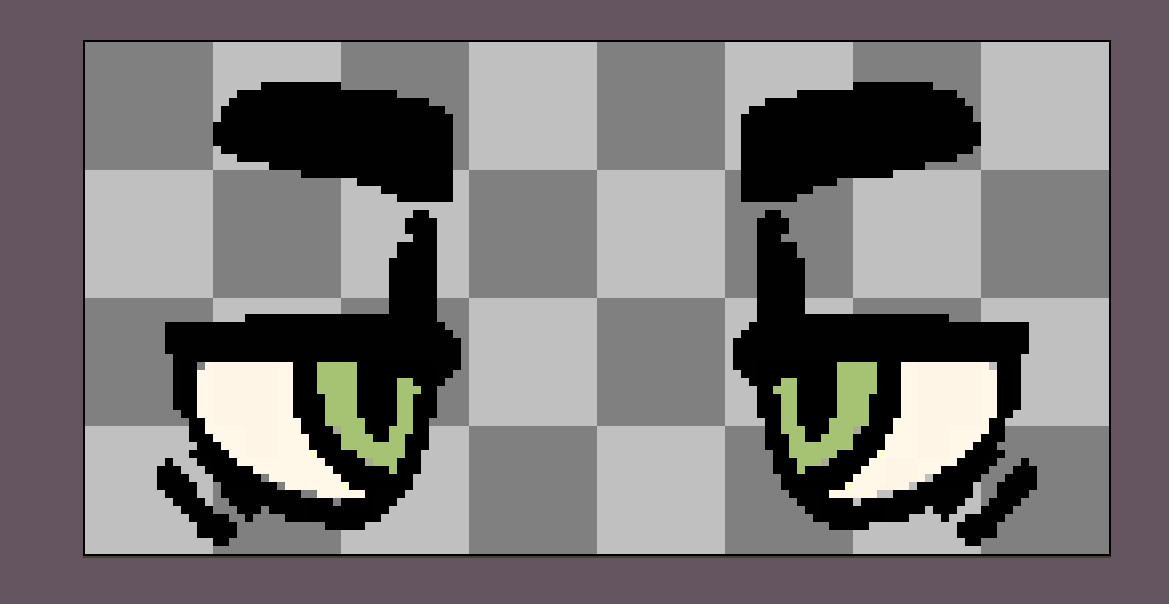
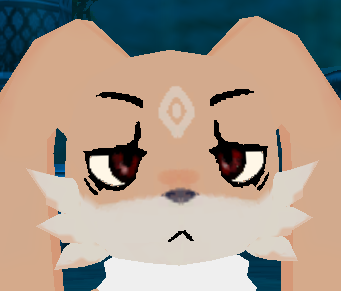
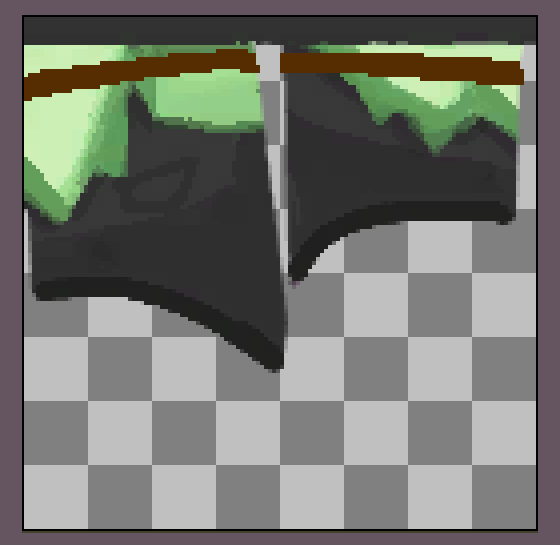
Here is the initial texture
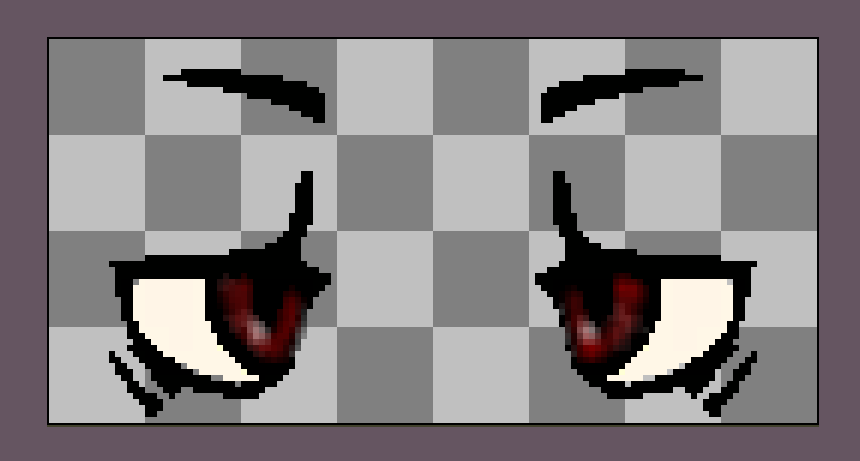
And here is my edited eye texture.
File Modification and Use
Once your texture is ready, follow these steps to apply it in the game:
Backup the original resources.assets file.
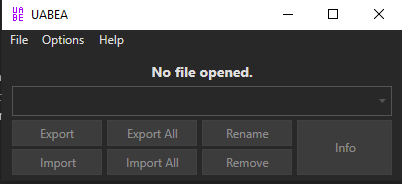
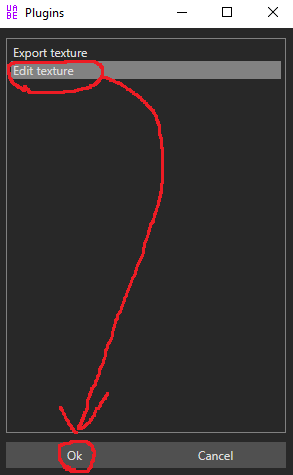
Open UABEA Avalonia, then drag your resources.assets into the program.
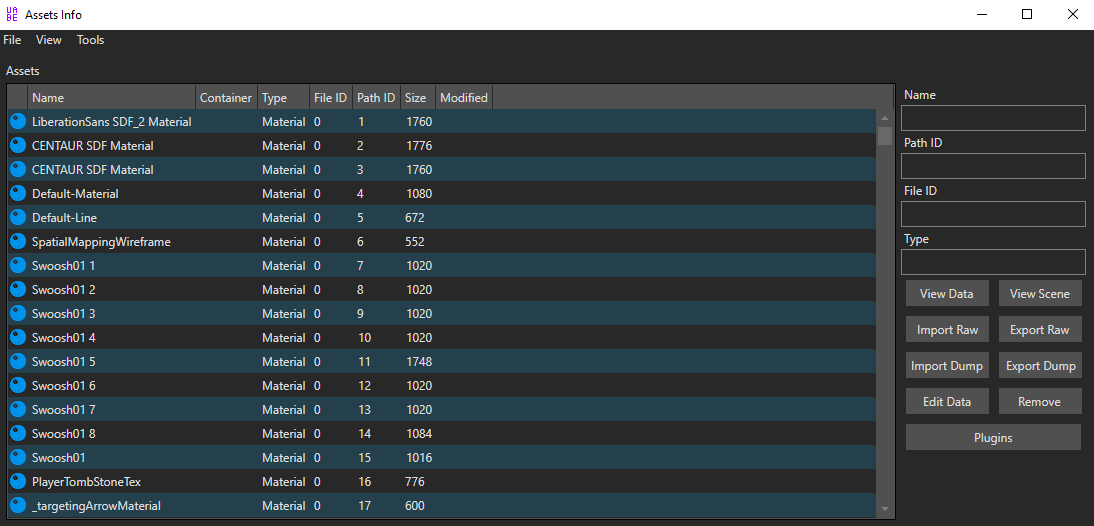
Filter by “Texture2D”.
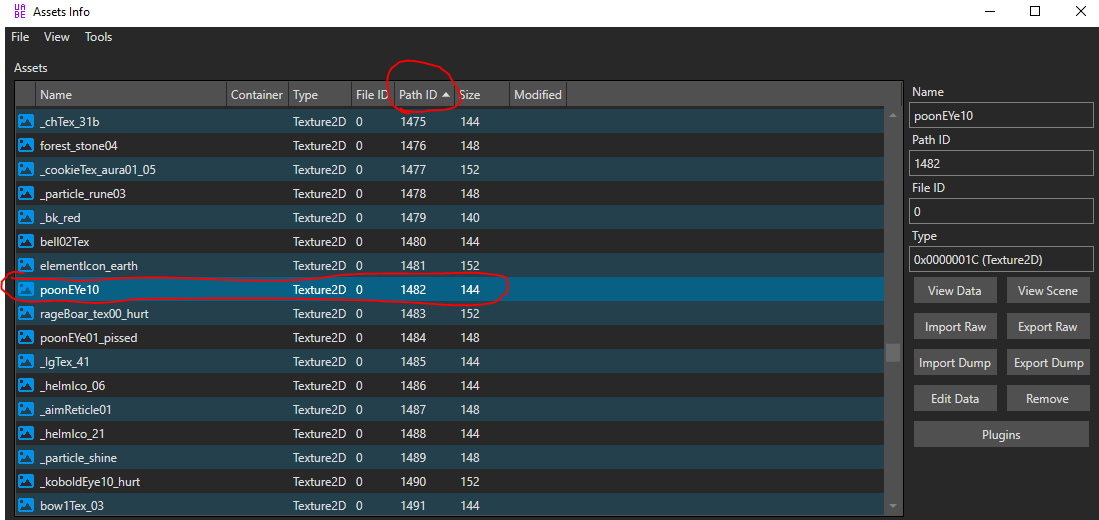
Use the file’s ID (from your screenshot) to find the texture to replace.
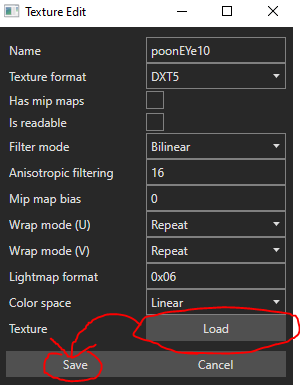
Click the texture, select “Edit Texture”, and load your new texture.
Save the modified file.
Replace the original resources.assets with your modified file in the ATLYSS_Data folder.
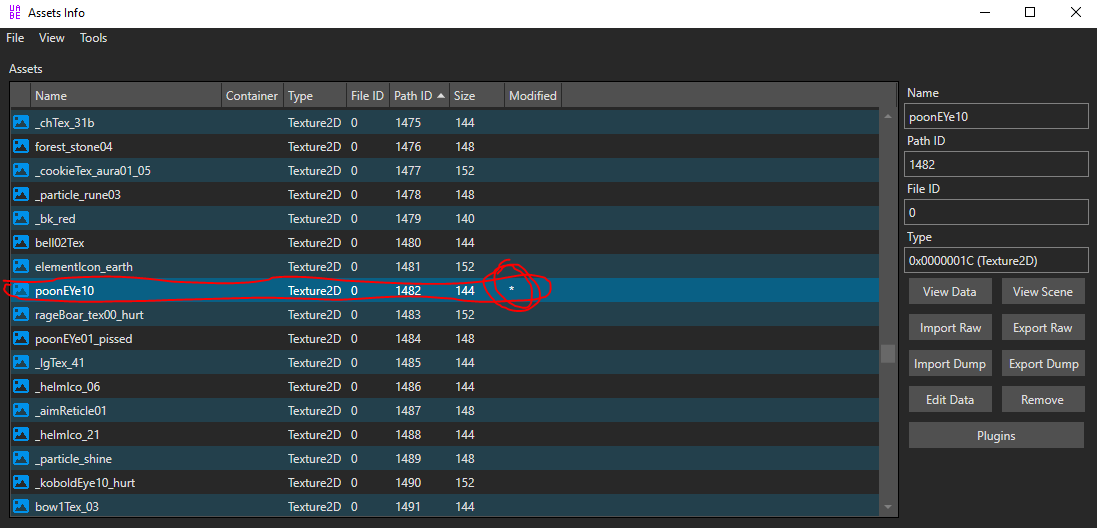
Your new texture should now be in the game!
End of Walkthrough
Congratulations, you’ve learned the basics of modding textures. This process is simple, but you’ll need to re-apply textures after updates. You can now make custom characters, outfits, and more.
Other Things to Consider:
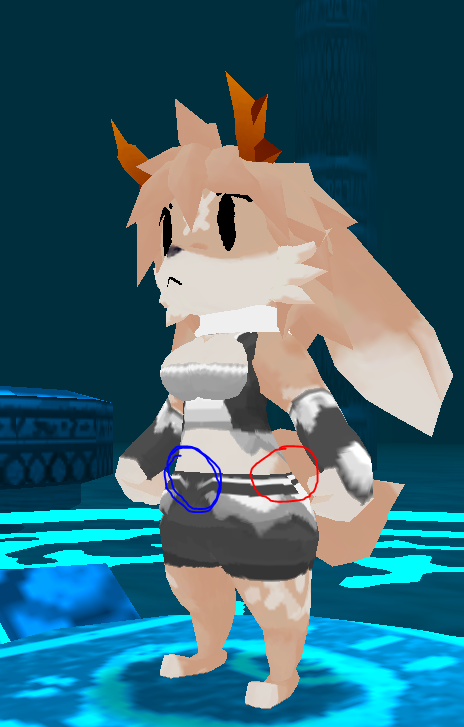
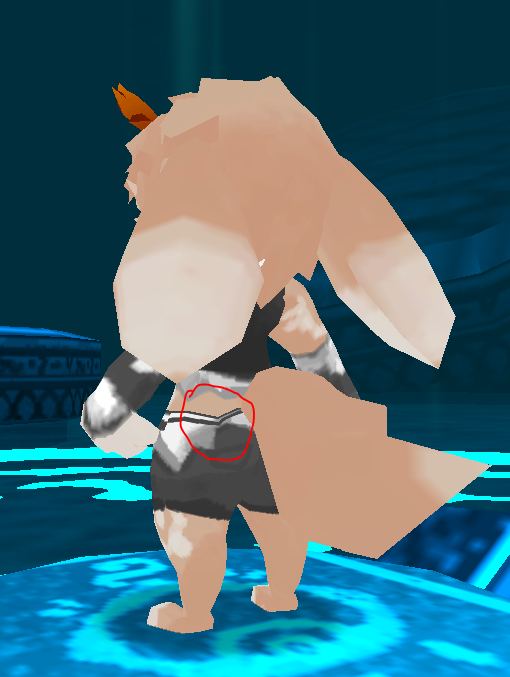
Texture Distortion
Because of how the 3D models are structured, textures can get distorted on the models. This can be especially noticeable with clothing items like belts. Be patient and experiment with your textures to minimize distortion.
Fast Texture Testing
To quickly test your edited textures, keep the game closed, edit the texture, save it, load it in UABEA, and paste it into the game’s data folder. Then, open the game and check the changes. This loop takes less than a minute.
Texture Mapping, File Name Shorthand, and Color
- File Names: The game uses shorthand like “ch” for chest textures and “lg” for legs. The files for male and female body types are labeled “A” and “B” respectively.
- Color: Remember that armor colors are applied in-game using dyes. When making textures, consider how these dyes affect your design.
Conclusion
This guide aims to help you have more fun with Atlyss through modding. While I’ve focused on textures, there’s much more to explore if you want to dive deeper into modding. Just be careful not to break your game.